Adjusting the APR Control
Are there any adjustments that need to be made after installing the APR Control?
The Rawal Devices APR Control has been known around the HVAC industry as a “set it and forget it” solution. For most standard DX comfort cooling applications, the APR typically does not require adjustment. The APR Control’s factory setting of about 120 psi for R-410A (maintaining a 40°F evaporator coil) is likely sufficient to provide the desired solution.
However, we recognize the APR Control is by no means a one-size-fits-all solution, and it is field-adjustable. We understand that every job and application is different from one another. There may be situations where a slight adjustment to the APR Control’s Compression Ratio Reduction valve is required to provide the desired performance.
The ideal adjustment on any DX system with the APR Control should strive for Maximum Modulation Before Compressor Termination.
How do I know when to adjust the APR Control?
After installing the APR Control there may be situations where your system runtime is still inadequate or low load operation fails to cause suction pressure to fall low enough (the point at which the APR Control starts to open). At this point you may want to consider adjusting or fine-tuning the APR Control to achieve optimal performance.
If the system’s suction pressure is above the desired setpoint at which the APR Control should be active, then the APR will not provide any modulation. For example:
When dealing with high humidity in a space, a higher setpoint may be desired to extend the run-time of the compressor, keeping the evaporator coil active for improved dehumidification.
In other applications such as a VAV, MUA, or DOAS, a lower setpoint may be desired to gain maximum capacity of the DX system. This will prevent or eliminate:
- System icing
- Shutting off on low temperature discharge air setpoint
- Or any other low cooling load nuisance issues.
You must adjust the APR Control, so that the system’s suction pressure falls below the desired suction pressure set-point of the APR Control. This will maximize the benefits of installing the APR Control, and optimize the operational performance of the DX system.
How do I adjust the APR Control?
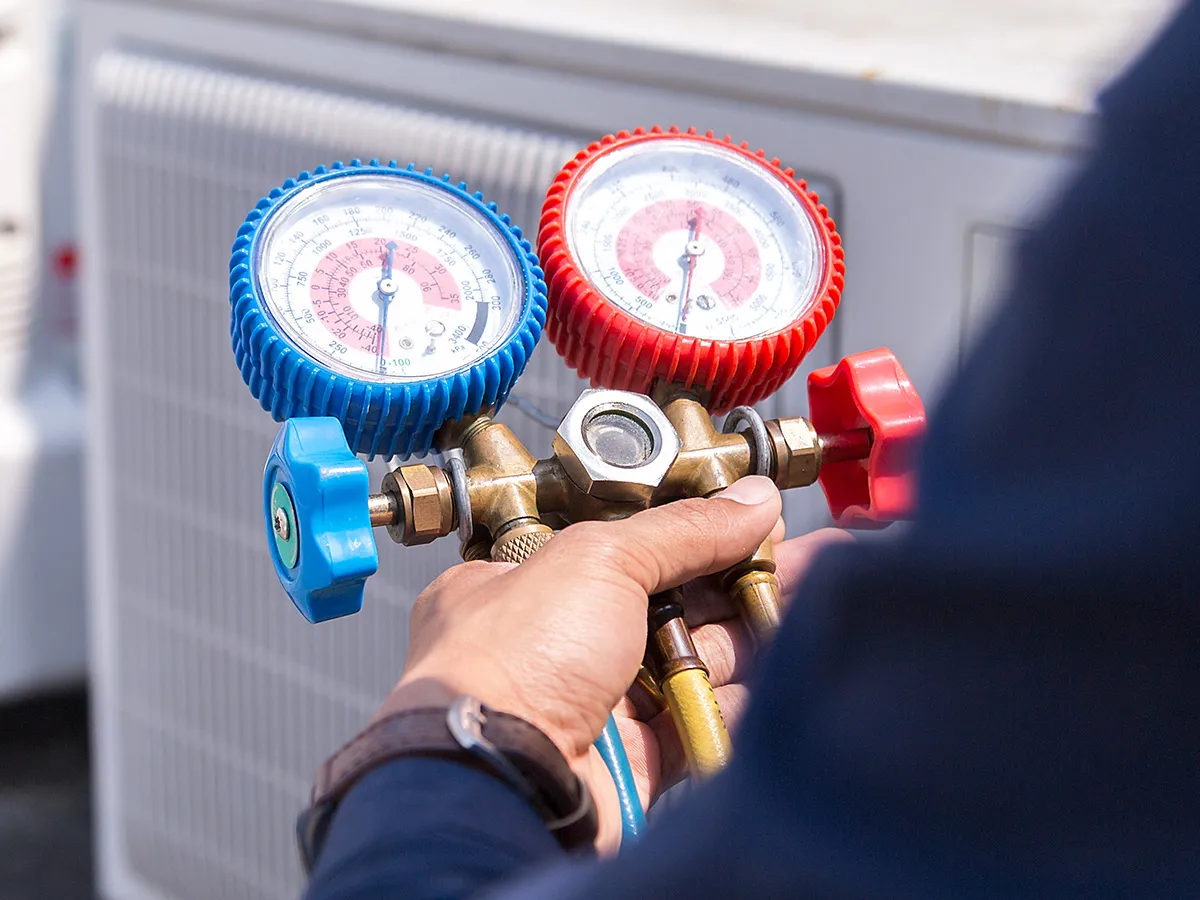
Before making any actual adjustments to the APR Control, you must verify that the equipment is functioning properly (as intended by the equipment manufacturer). As a technician, trying to adjust the APR Control without verifying the DX system’s operational status can only cause further complications and take time out of your day.
This is done by closing the installed ball valves and isolating the APR Control from the rest of the system. If you discover that the system is not operating as intended, those repairs must be addressed before making any adjustments to the APR Control.
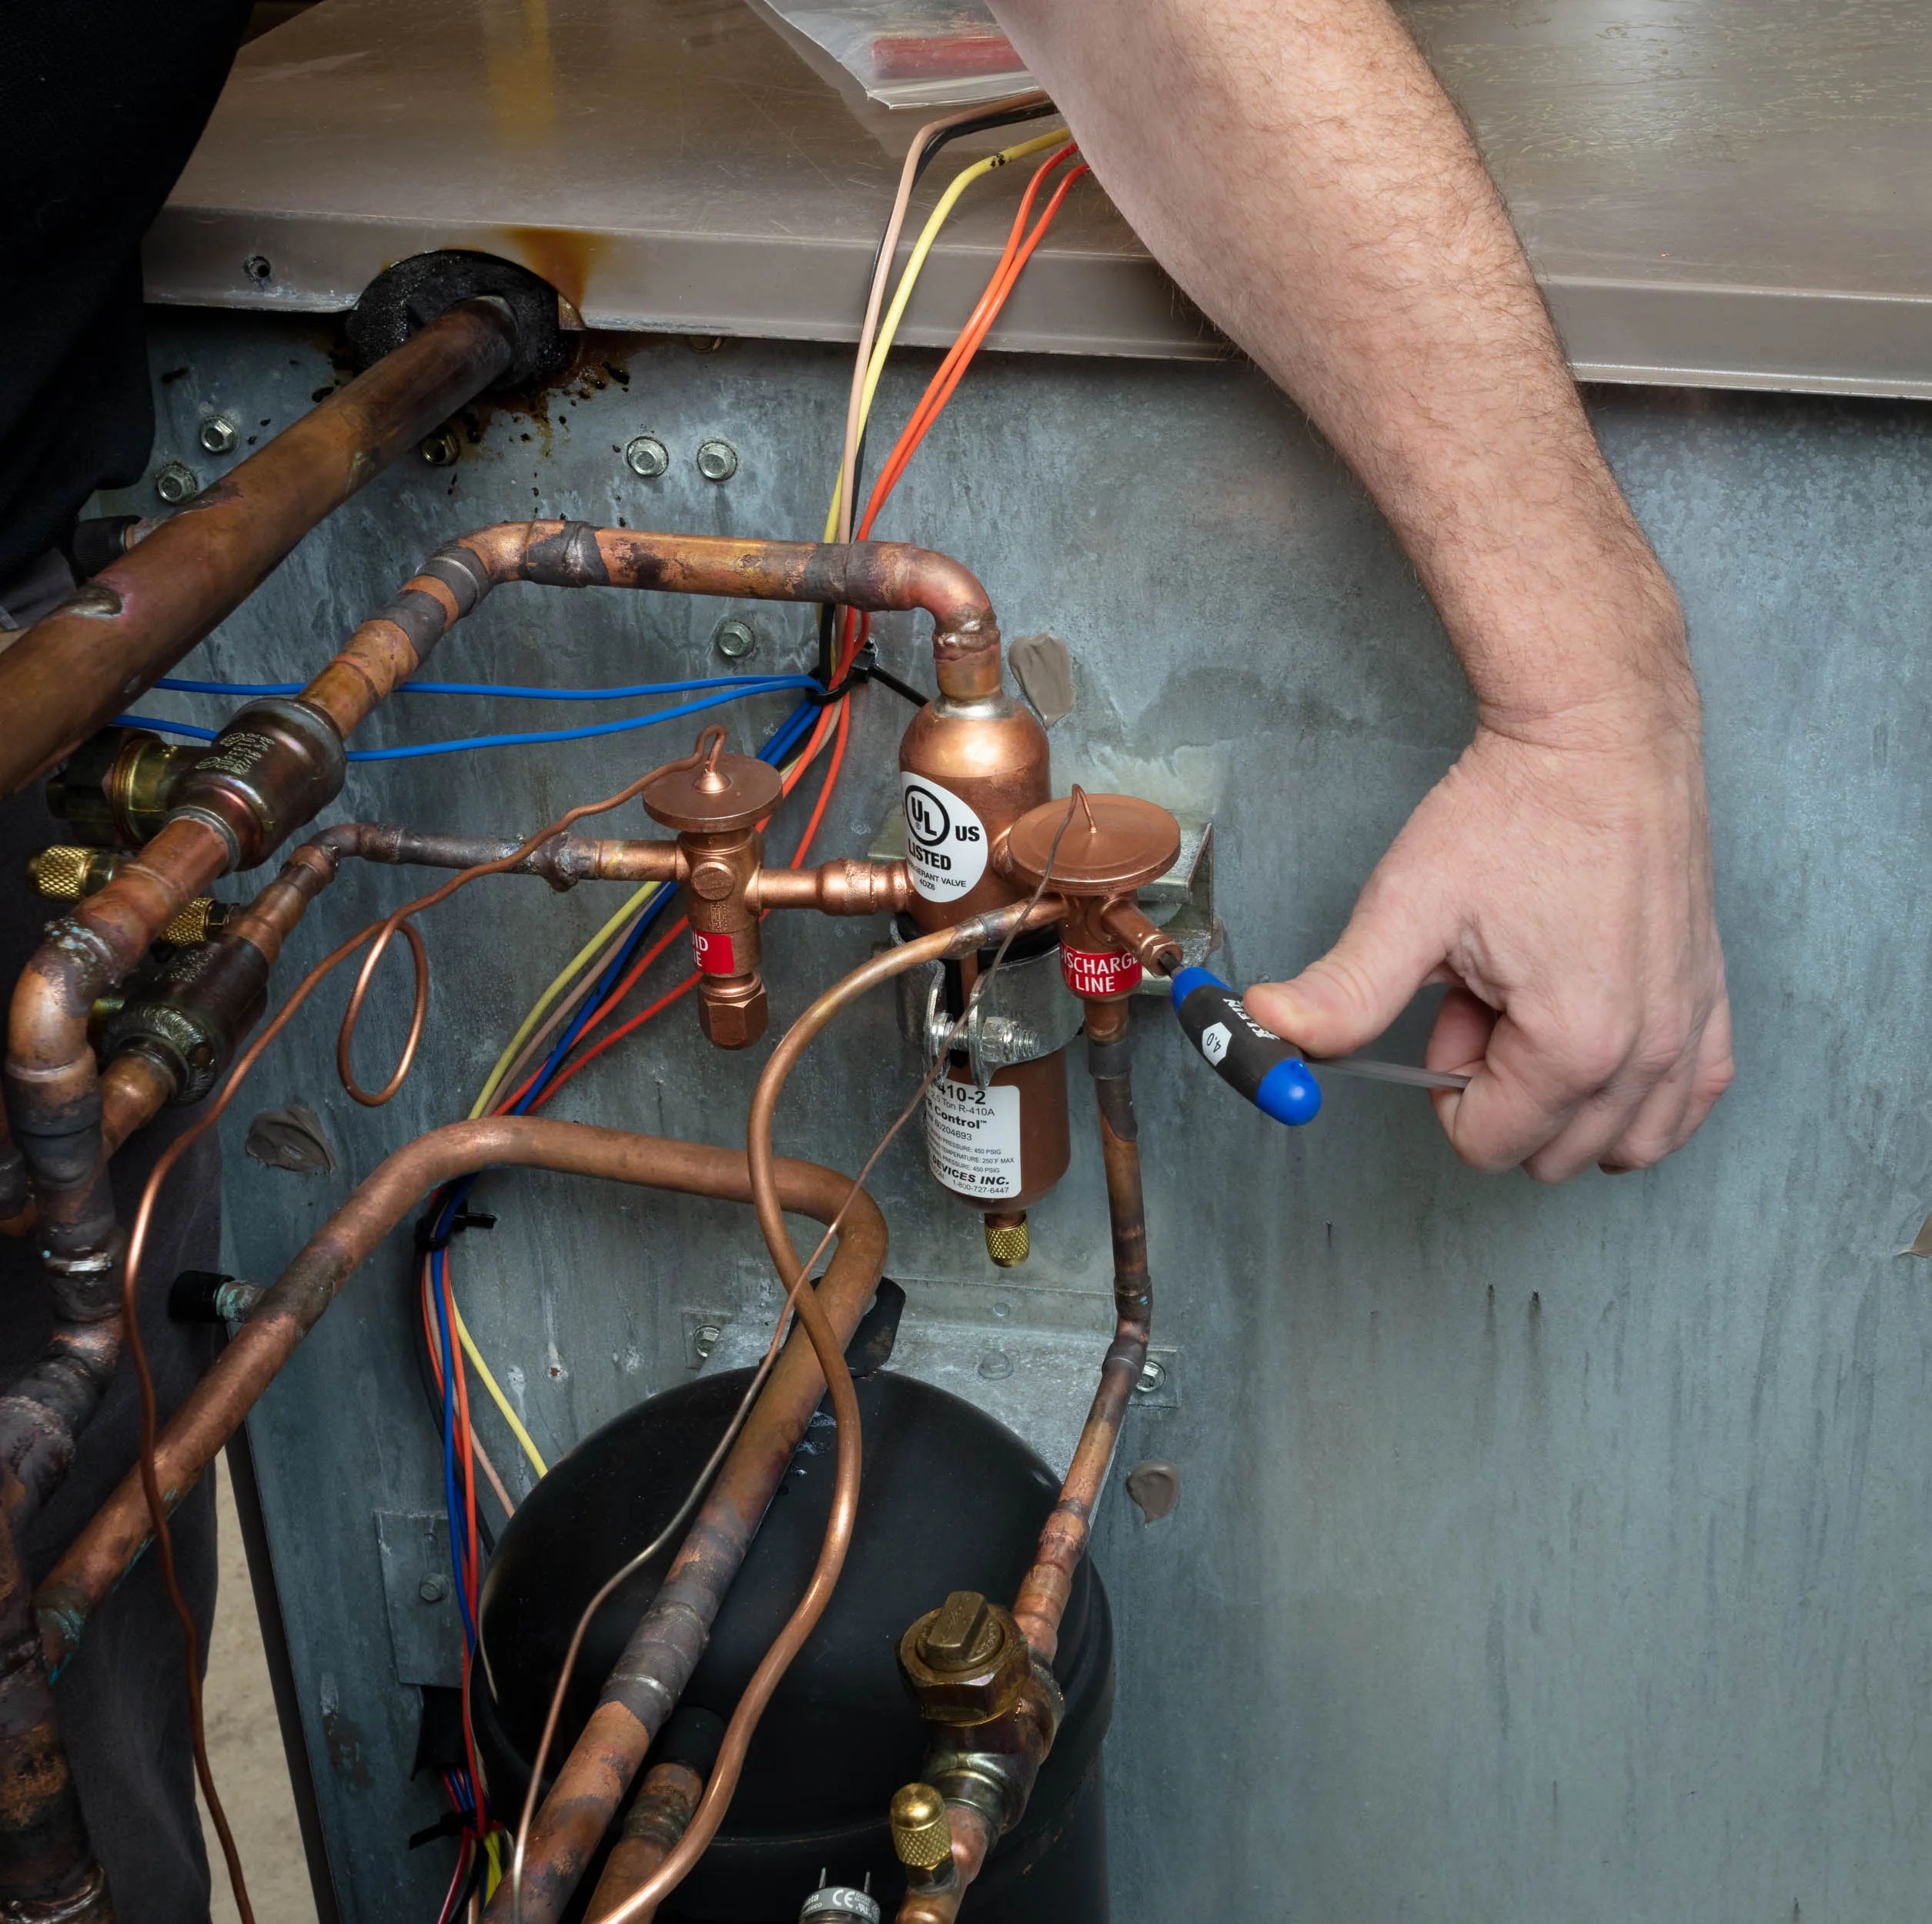
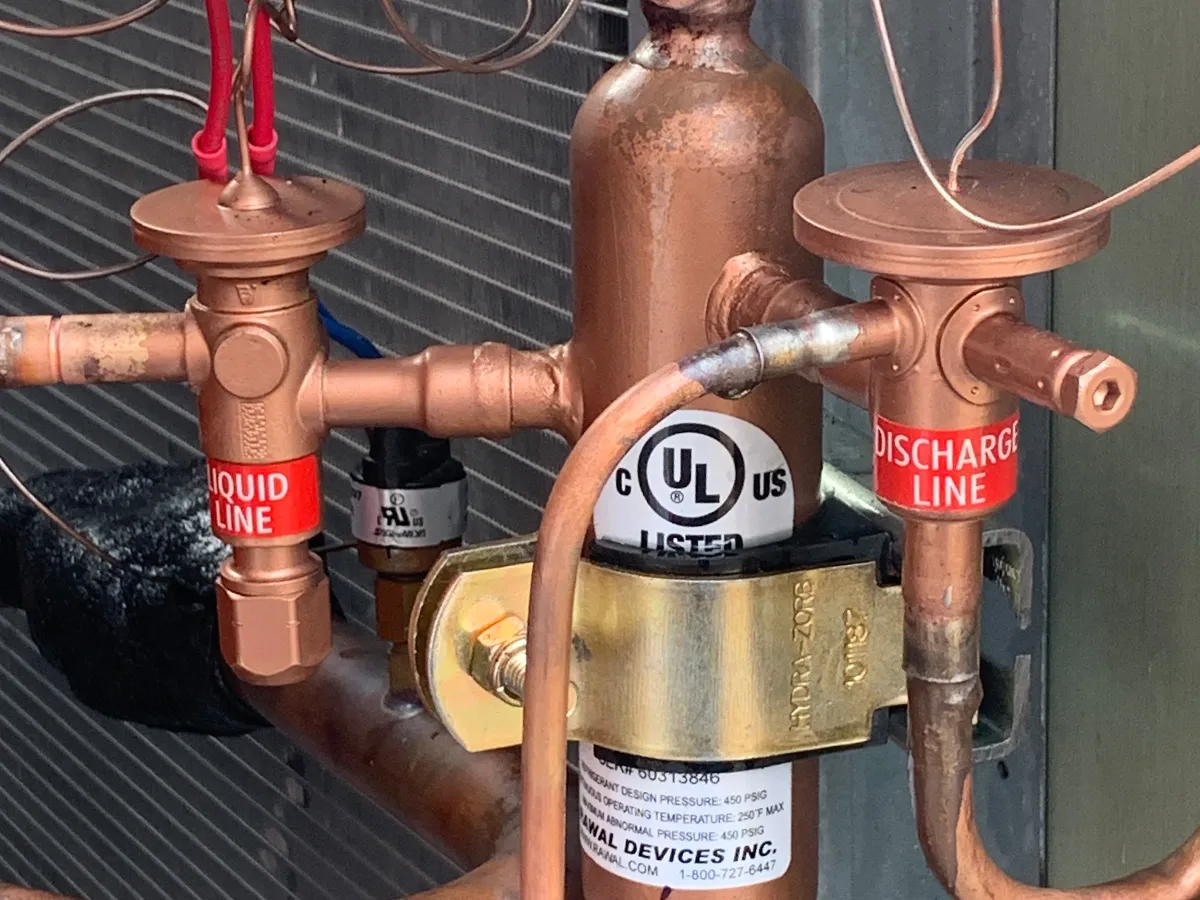
Adjustments to the APR Control should be made to the Compression Ratio Reduction Valve (CRR) that is connected to the compressor discharge line. All APR Controls have a cap over the adjustment screw that will have to be removed to make adjustments.
The adjustment varies with each different model number of the APR Control. Each APR Control has its own:
- Maximum & minimum pressure setpoints
- Adjustment range per turn
- Direction of rotation to adjust
| APR Control Model # | Factory Setting (psi) | Pressure Range (psi) | PSI Change per Turn |
| APR-410-1 | 118 psi | 96 – 142 | 5 psi/ Turn Counter-Clockwise to Raise |
| APR-410-2 | 118 psi | 96 – 137 | 5 psi/ Turn Counter-Clockwise to Raise |
| APR-410-3 | 118 psi | 90 – 130 | 5 psi/ Turn Counter-Clockwise to Raise |
| APR-410-5 | 110 psi | 95 – 115 | 2.5 psi/ Turn Clockwise to Raise |
| APR-410-6 | 118 psi | 96 – 142 | 5 psi/ Turn Counter-Clockwise to Raise |
| APR-410-10 | 118 psi | 96 – 132 | 5 psi/ Turn Counter-Clockwise to Raise |
| R-22/ R-407C | |||
| APR-0.7 | 50 psi | 0 – 100 | 16 psi/ Turn Clockwise to Raise |
| APR-0.9 | 65 psi | 0 – 100 | 3.5 psi/ Turn Counter-Clockwise to Raise |
| APR-1R | 50 psi | 0 – 80 | 9.8 psi/ Turn Clockwise to Raise |
| APR-1D | 60 psi | 3 – 85 | 6 psi/ Turn Clockwise to Raise |
| APR-1 | 50 psi | 0 – 80 | 4 psi/ Turn Clockwise to Raise |
| APR-2 | 60 psi | 3 – 85 | 6 psi/ Turn Clockwise to Raise |
| APR-2.5 | 60 psi | 3 – 85 | 6 psi/ Turn Clockwise to Raise |
| APR-3 | 60 psi | 0 – 80 | 7.5 psi/ Turn Clockwise to Raise |
*Most APR Controls for R-410A are approximately adjustable between 130psi and 95psi and about 5lbs per full turn.
You can find our adjustment charts on our Troubleshooting Guide as well as out Installation Package. You should always reference the chart before making any adjustments. This is to verify that the APR Control you have can actually be adjusted to the desired setpoint.
IMPORTANT: You NEVER want to adjust the Liquid Injection Valve!
The liquid injection valve on the APR is extremely difficult to adjust in the field with any level of confidence and accuracy! Adjusting the Liquid Injection Valve WILL void the warranty.
If you feel like an adjustment to the liquid injection valve is needed, call Rawal Devices first for technical support! This will save you time and aggravation!
If you believe an adjustment to the APR Control on your specific application is required, please check out our newest Adjustment Video here (Link – Adjustment video).
If you or your technicians in the field have questions or need any assistance with an adjustment, please give us a call. You will speak with our Technical Support Team immediately. We are always available!
Be sure to check out our APR Control Videos Page or our YouTube channel for more helpful videos.