Installing the APR Control: The Ultimate How-To
Rawal Devices’ New APR Control Installation Video is Now Available!
Installing the APR Control is straight-forward and doesn’t take a lot of guesswork from the technician. It is common for HVAC technicians who are unfamiliar with the APR Control to be intimidated by the installation process. The truth is, once the APR Control is installed, we often hear how much service technicians love the APR Control as a tool having to solve common HVAC challenges. Let’s address all the commonly asked questions and concerns about installing the APR Control valves.
Though it may be straightforward, the installation process of an APR Control is time-consuming for any good HVAC technician. Installing the APR Control from start to finish should take about a full day’s worth of labor (8 hours), although technicians with experience installing the APR have often reported doing it in half the time.
To speed up the process, it is always helpful start with laying out the piping you will need for the APR Control. Then identify where you need to cut the lines for each connection in your system to ensure the job goes smoothly.
Check out our new installation video as our own Senior Technical Engineer walks you through the entire process!
How do I install the APR Control?
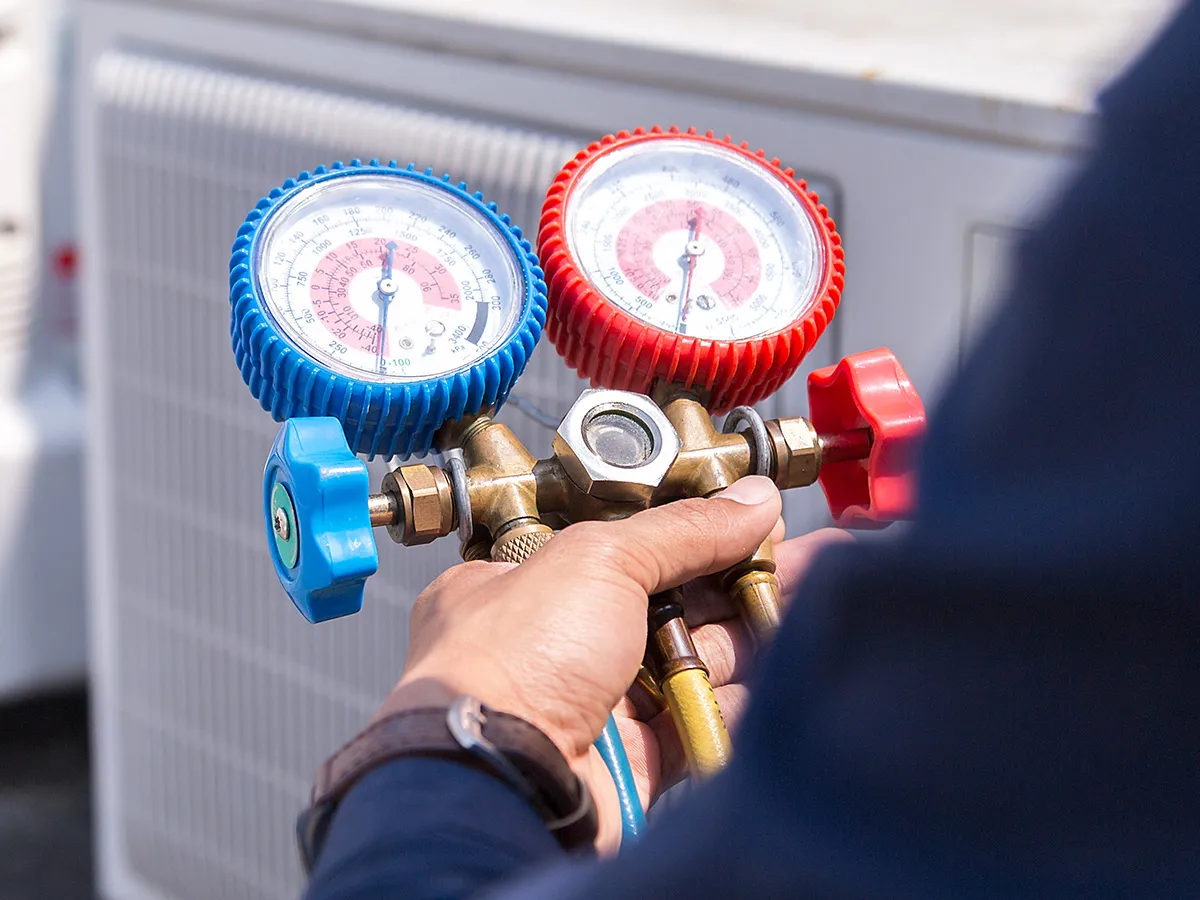
Typical installation of the APR Control requires the technician to recover all the gas (refrigerant), install the APR Control connections, evacuate, then charge the system back up (with isolation ball valves closed), and confirm proper system operation before opening the ball valves to the APR connections.
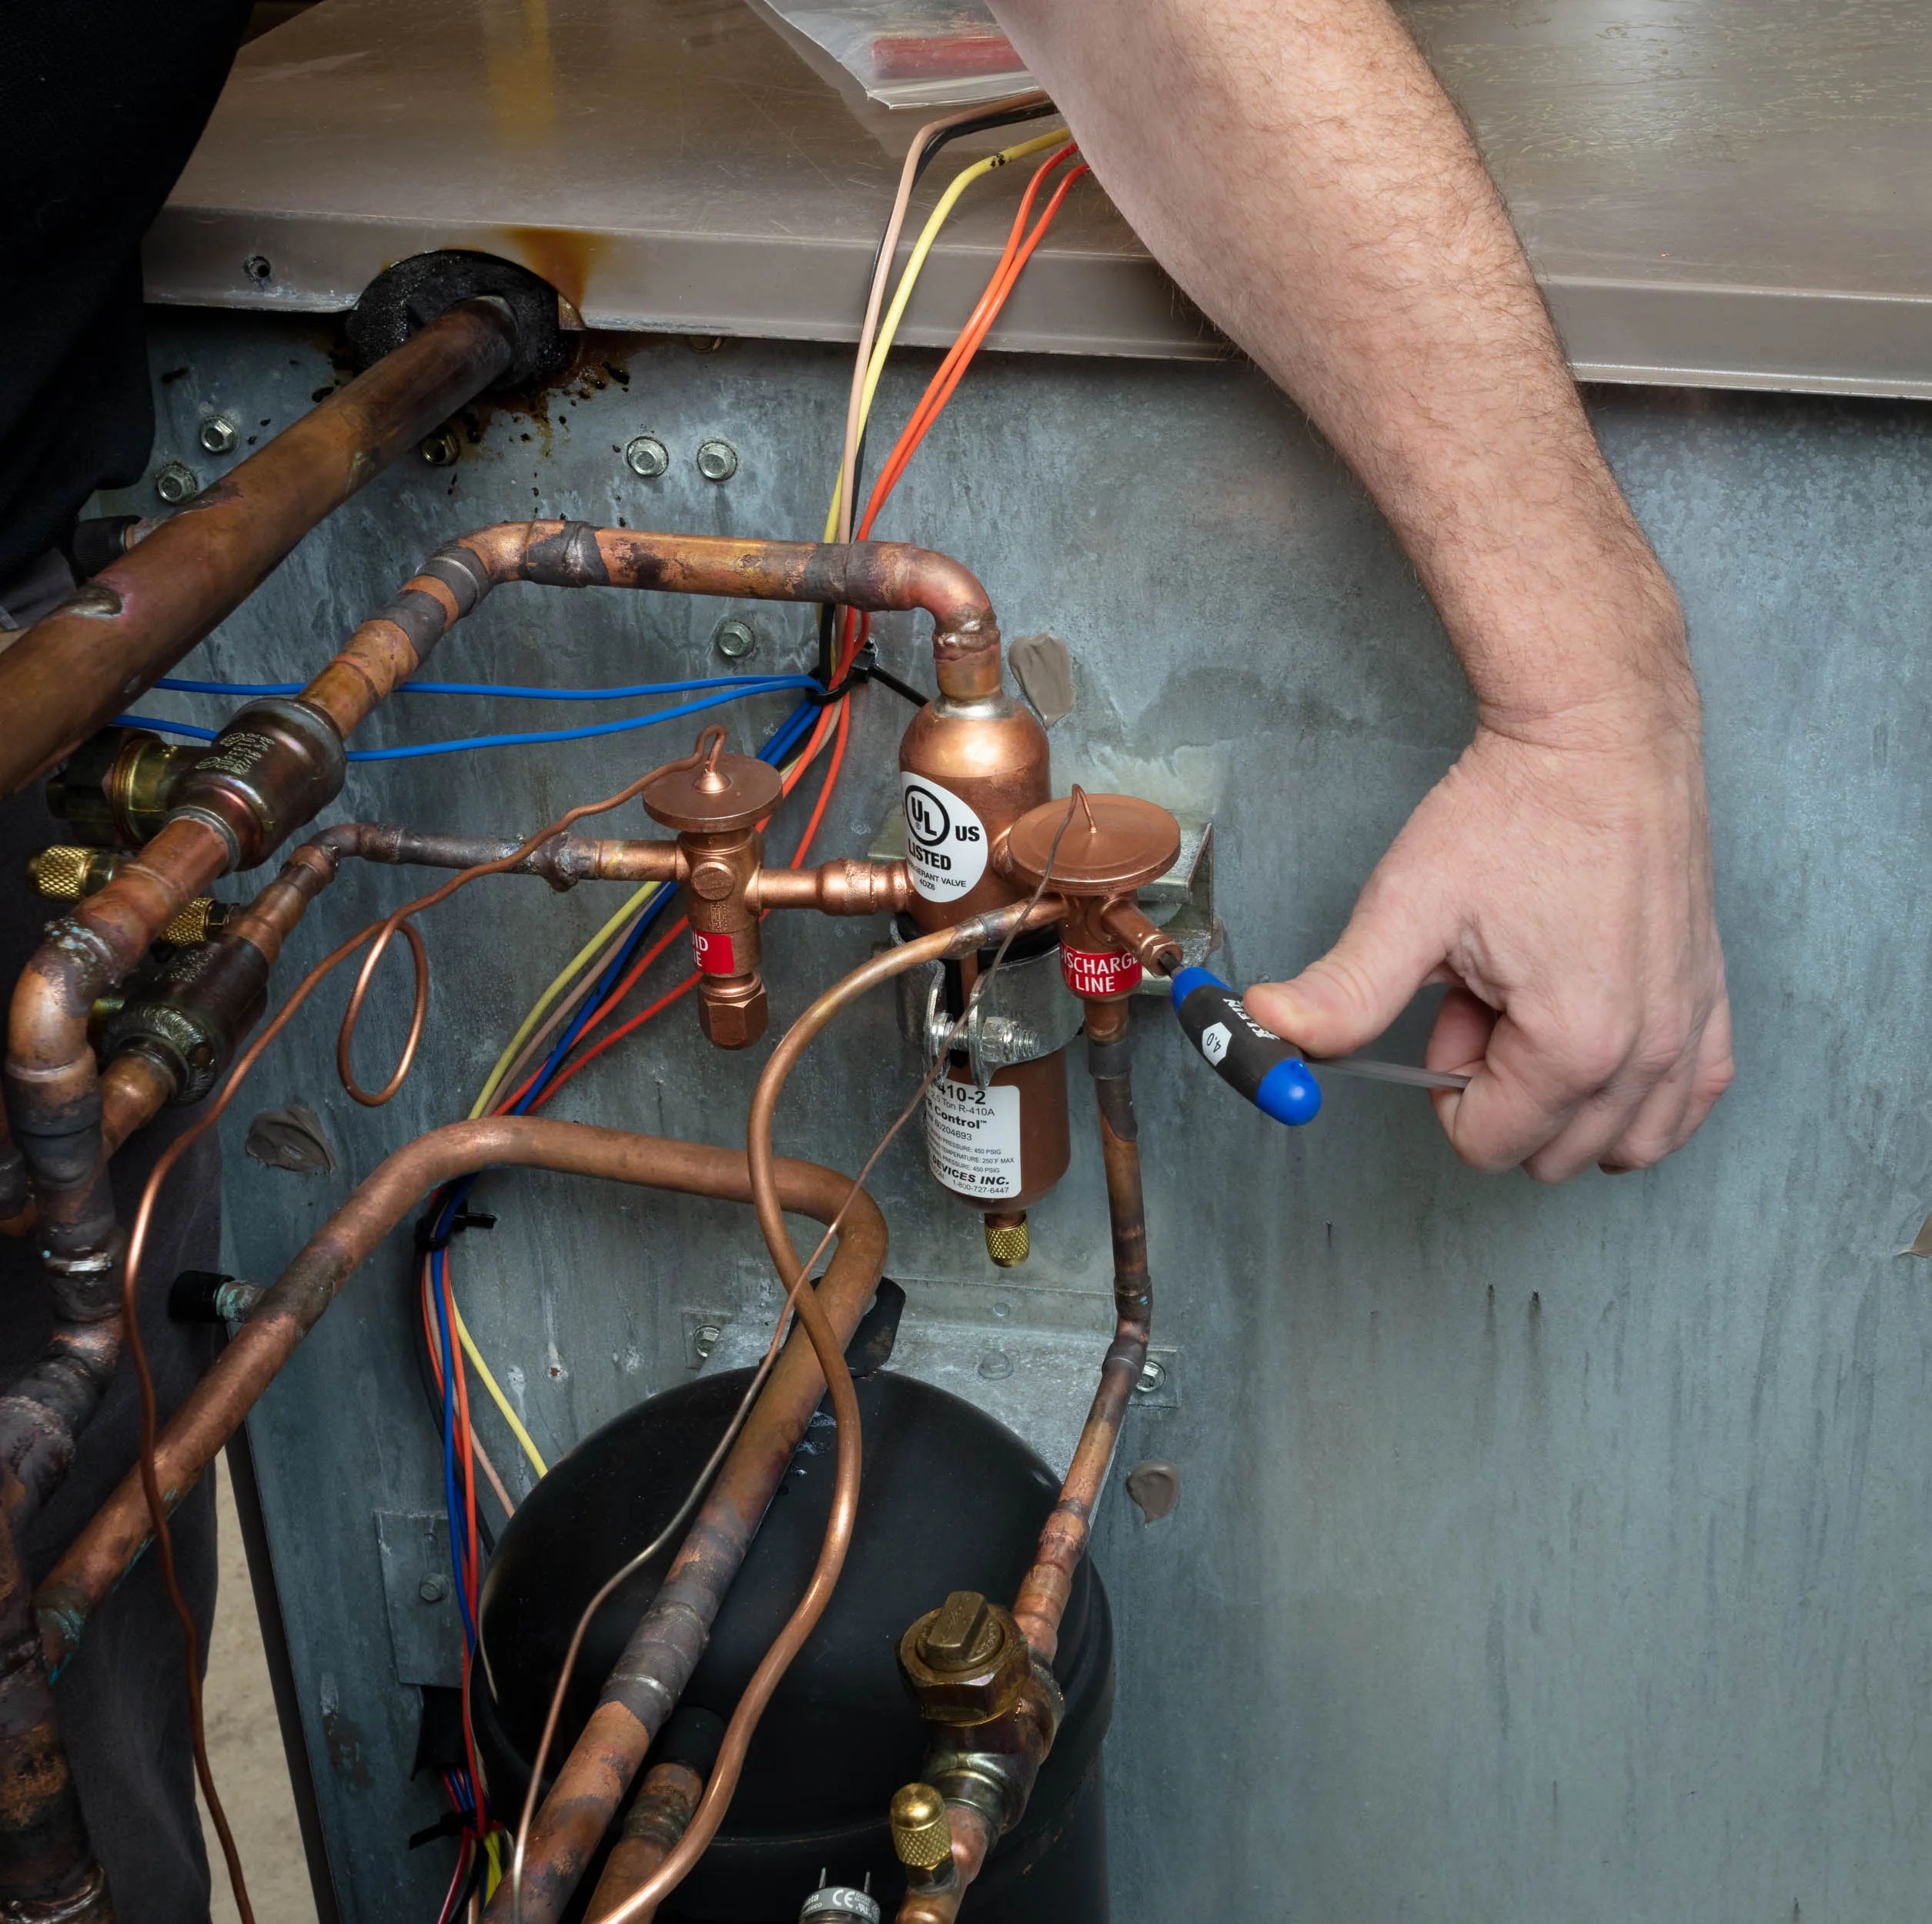
The APR Control consists of making 3, sometimes 4 connections depending on which model APR you are installing. All connections to the APR Control require a manual isolation ball valve.
The first connection is to our Compression Ratio Reduction Valve which will be piped from the discharge line after the compressor. This has a RED sticker and is labeled discharge line.
The second connection is the Liquid Injection Valve, which will be piped from the liquid line after the condensing coil. This has a BLUE sticker and is labeled liquid line.
The third connection is our Mixed Gas Line. This is the line coming from the top of desuperheating chamber and will be piped into the suction line before the compressor.
The fourth connection is the external equalizer, which all our 410a APR Controls have. This 1/4” line is going to be installed on the suction line between the tee of the mixed gas line and the inlet of the compressor.
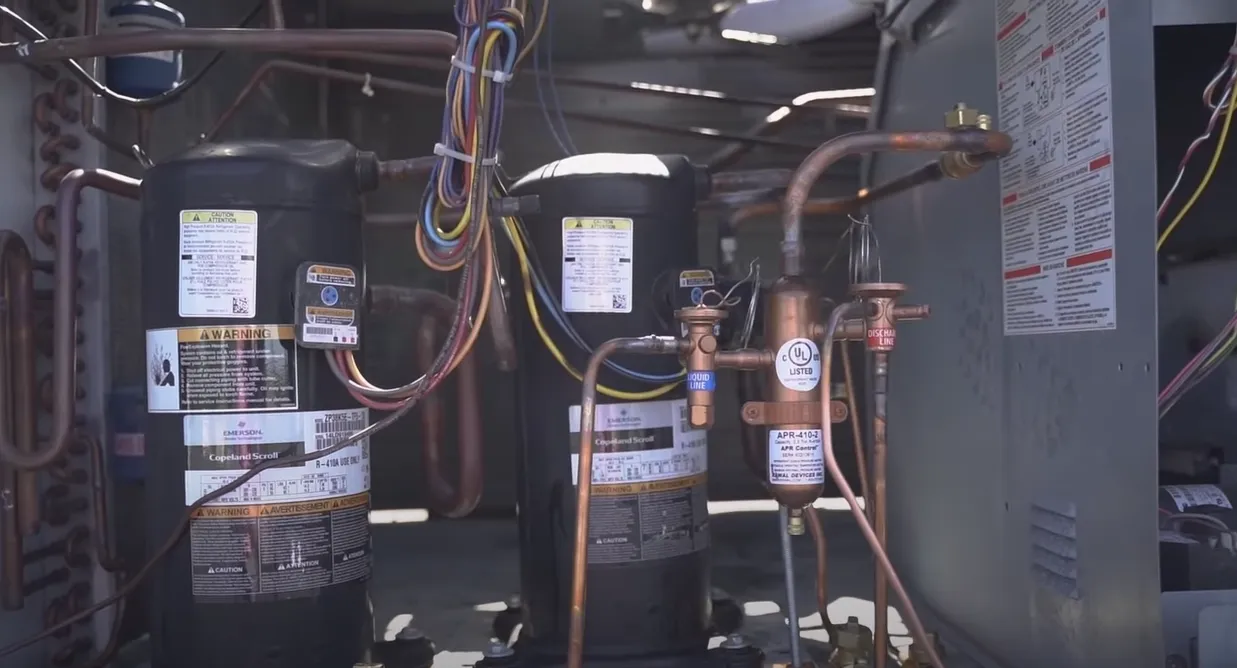
Most R-410A APR Control will also have (2) sensing bulbs, a couple only have one. These sensing bulb(s) will be strapped to the suction line between the mixed gas tee and the inlet of the compressor. They should be mounted at “10” and “2” on the suction line. The sensing bulbs are the only portion of the APR Control that needs to be insulated! It is critical to insulate these well as they can pick up any ambient temperature that could disrupt the functionality of the device.
Does the APR Control need to be mounted?
The APR Control can be either mounted to a bracket or a piece of Unistrut in the system. This mounting is critical because the weight of the APR, along with the vibration of the unit, can cause cracks in the connections if left suspended by the pipes over time.
Mounting the APR Control is critical to the installation process! The system will naturally vibrate during operation, and the APR control is heavy so it will bend the pipe over time.
There are many ways to mount the APR Control:
• F&M ring/ Split ring
• Mounted cushion clamp
• Unistrut mounted pipe clamp
These are just a few examples, whichever way works best for your situation, you just want to ensure the APR is secure from vibration. When mounting the APR Control, it is best to leave the sticker containing the APR model and serial number exposed and readable. There may be a situation where we may ask for that information if for some reason you need to call us for any type or adjustment, troubleshooting or any technical questions.
Is the APR Control position sensitive?
Yes! The APR Control needs to be installed vertically with the access schrader port on our desuperheating chamber facing downward and the stickers should be easily readable.
“Do I have to install the APR Control inside the unit?”
If there is not enough space inside the condensing section of the unit, you can install the APR Control external to the system. Be aware that the sensing bulbs are the only limitation as to where you can mount the APR Control. The bulbs need to be able to reach and attach to the suction line before the compressor.
Whether you choose to mount the APR Control inside or outside, the APR Control must be securely mounted and the bulbs are able to reach the suction line.
What type of protection does the APR Control need during installation?
Much like a TXV or any other device added to the refrigerant system, you need to provide protection from excessive heat when soldering or brazing the APR Control. It is important to follow your proper brazing techniques as the valve bodies, are very susceptible to heat. When brazing the APR Control in to place, use a wet rag to wrap around the Compression Ration Reduction Valve and the Liquid Injection Valve to protect the valve from overheating.
The valves are also a copper clad stainless steel, meaning a light sanding is all you will need for the inside of the connections to begin brazing. If you over sand the copper cladding inside the valve connection, you may have difficulty brazing the valve into place. Be sure to heat the copper pipe from the system first, then move the flame to the socket of the valve as stainless steel will heat up much quicker than the copper. Also, please be sure to install the APR Control with your best piping practices.
The APR Control is Factory Approved!
APR Controls have been installed successfully on all major manufacturer’s select equipment at the factory level over the last 30 years.
Can the APR Control be installed on heat pumps?
Yes, the APR Control can be applied to all DX systems. When installing the APR Control during a heat pump application, the piping is the same as the single evaporator installation in all parts except for the location of the Mixed Gas Line. In a heat pump, the Mixed Gas Line needs to be installed after the evaporator coil and before the reversing valve. This change is made so that the APR Control is only operating during the cooling cycle and will not be active during the heating cycle. Your two other connections will still be made in the same spots respectively to the single evaporator mode installation diagram, along with the sensing bulbs and external equalizer being connected to the suction line going to the compressor.
Installing the APR Control on systems with tandem or manifolded compressors?
Of course, it can. The APR Control can be applied to all DX HVAC systems. When installing the APR Control on a circuit that has tandem, or manifold compressors, all the APR connections are made on the common lines of the system. The Compressor Ratio Reduction Valve will be connected to the common discharge line after the compressors come back together. The Liquid Injection Valve will still be connected to your liquid line. The Mixed Gas Line will connect to the common suction line before the compressors split off. The sending bulbs and external equalizer will be connected between the Mixed Gas tee and before the compressor split. The reason the APR is installed on the common lines is so that there can be modulation, regardless of the compressor(s) in operation. In these applications, a single APR Control can modulate both stages.
Rawal Devices also offers a FREE Pre-Installation Webinar every Monday, Wednesday, and Friday at 9am EST. If you or your technician has never installed these before, we highly recommend you sign up here.
If these times don’t work, please reach out to our team directly and we will accommodate your schedule. Prior to the training, please see our installation package and bring any questions you have to the webinar.
Our APR Controls come factory set, straight from our warehouse (118psi for R-410A). Our setpoint is chosen based on low load conditions. If you feel the set point will not work in your situation please check out our APR Control Adjustment Video to adjust your APR Control to fit your application needs.